Europe / EUR >
IKEA Bestå furniture legs — the complete upgrade guide
IKEA Bestå is one of the most popular storage systems in the world — but the standard short plastic feet rarely feel quite finished. With new furniture legs, you can transform a Bestå unit from functional storage into a design piece that actually stands out. In this guide, we cover everything you need to know: how Bestå’s fitting system works, which legs fit, and how to install them step by step.
How does Bestå’s leg system work?
The good news: the Bestå frame already has pre-installed M8 threaded inserts on the underside from the factory. This means you can screw in new legs with M8 thread directly — no drilling, no brackets, no modifications needed. Exactly like replacing legs on a sofa.
IKEA’s own Bestå legs — such as STUBBARP, SIGGARP, ÖSARP and KABBARP — are all 10 cm high and adjustable up to 11 cm. They use the same M8 thread found in the pre-installed inserts, which means virtually any standard furniture leg with M8 thread fits straight away.
The only thing to check is that the leg you choose has an M8 thread and that the threaded section is long enough to engage properly — normally 15–20 mm of thread length is sufficient.
Tip: The Bestå frame is 40 cm deep and either 60 or 120 cm wide. A 60 cm unit needs 4 legs; a 120 cm unit needs 6 legs (4 corners + 2 in the middle for stability). Don’t skip the middle legs — without them, the frame can bow under heavy loads.
What height should the legs be?

It depends on what you’re using the Bestå for and the look you want. Here are the most common uses and recommended heights:
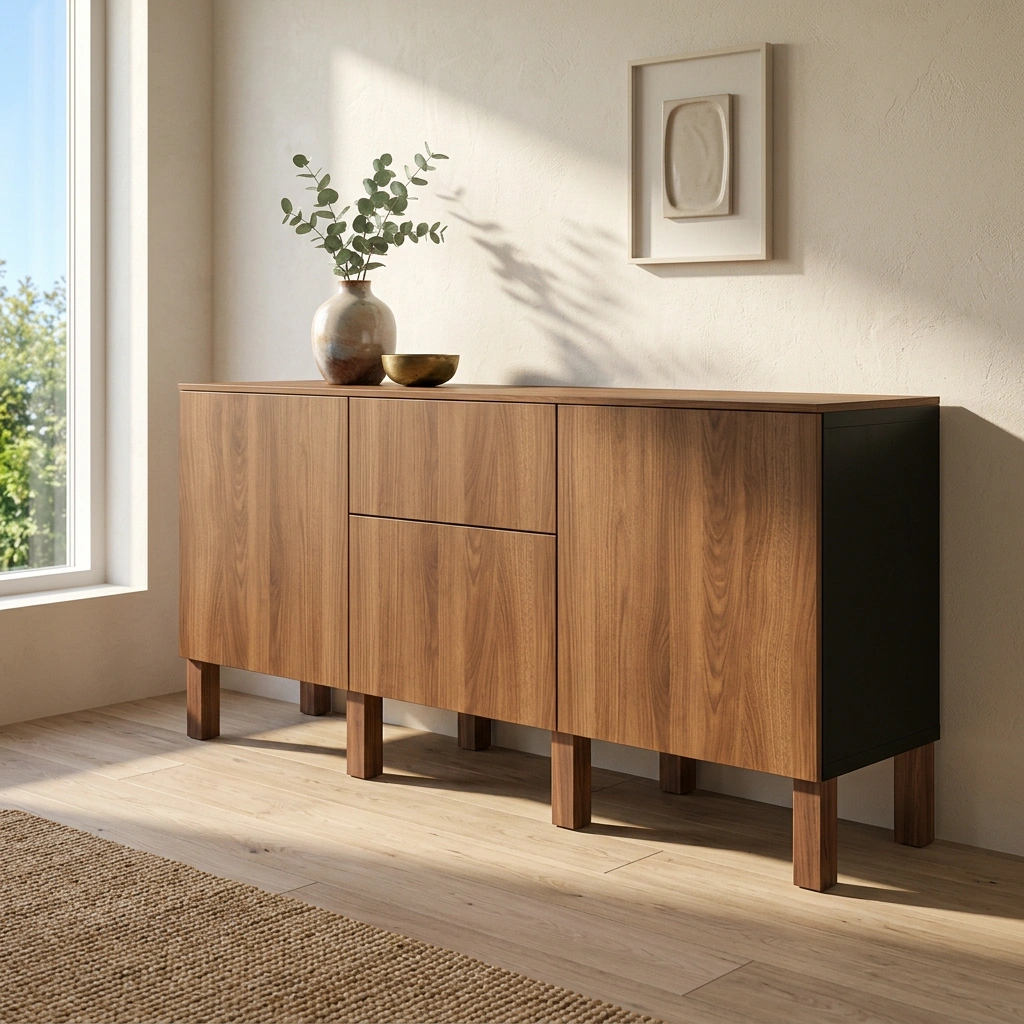
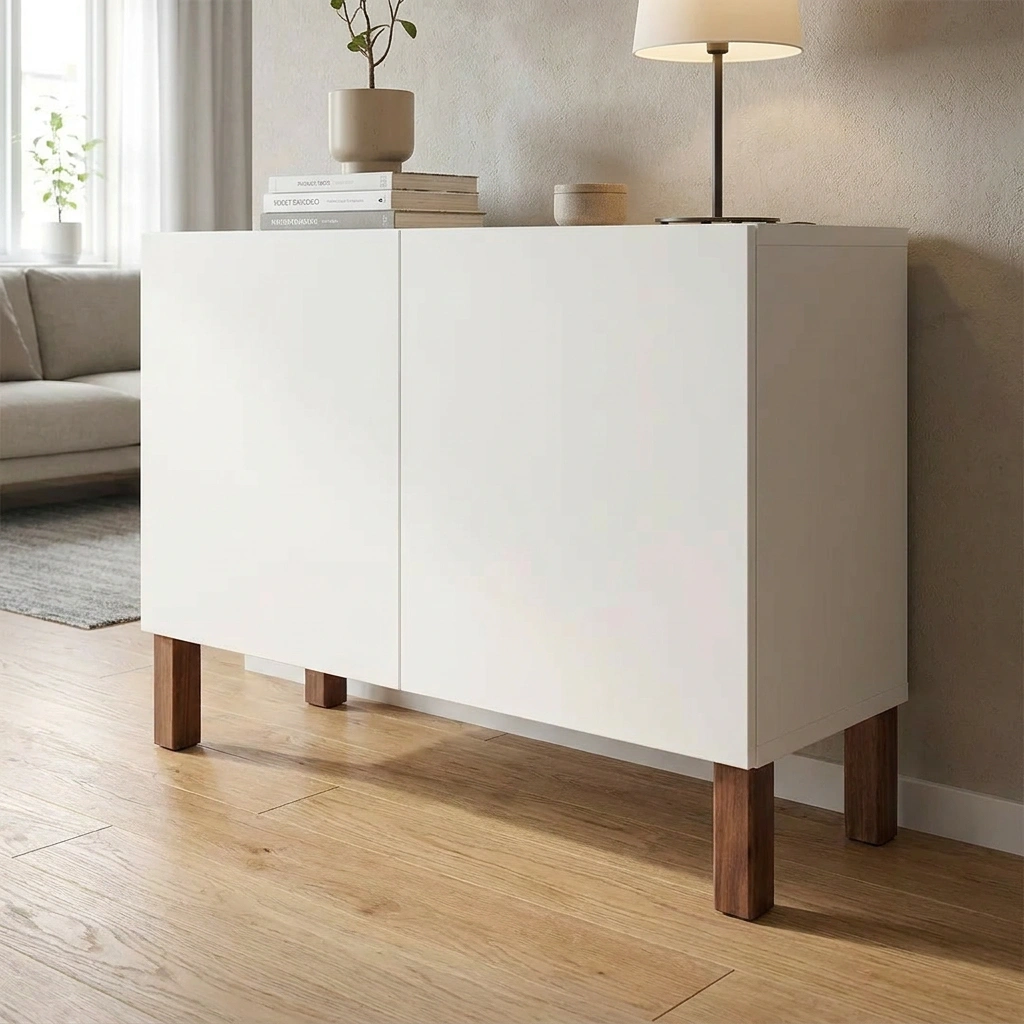
⦁ TV bench / sideboard: 10–15 cm legs give a low, clean look with an airy feel underneath. Classic and timeless.
⦁ Hallway storage: 15–25 cm legs make it easier to see what’s underneath and simpler to clean. Great if you store shoes below.
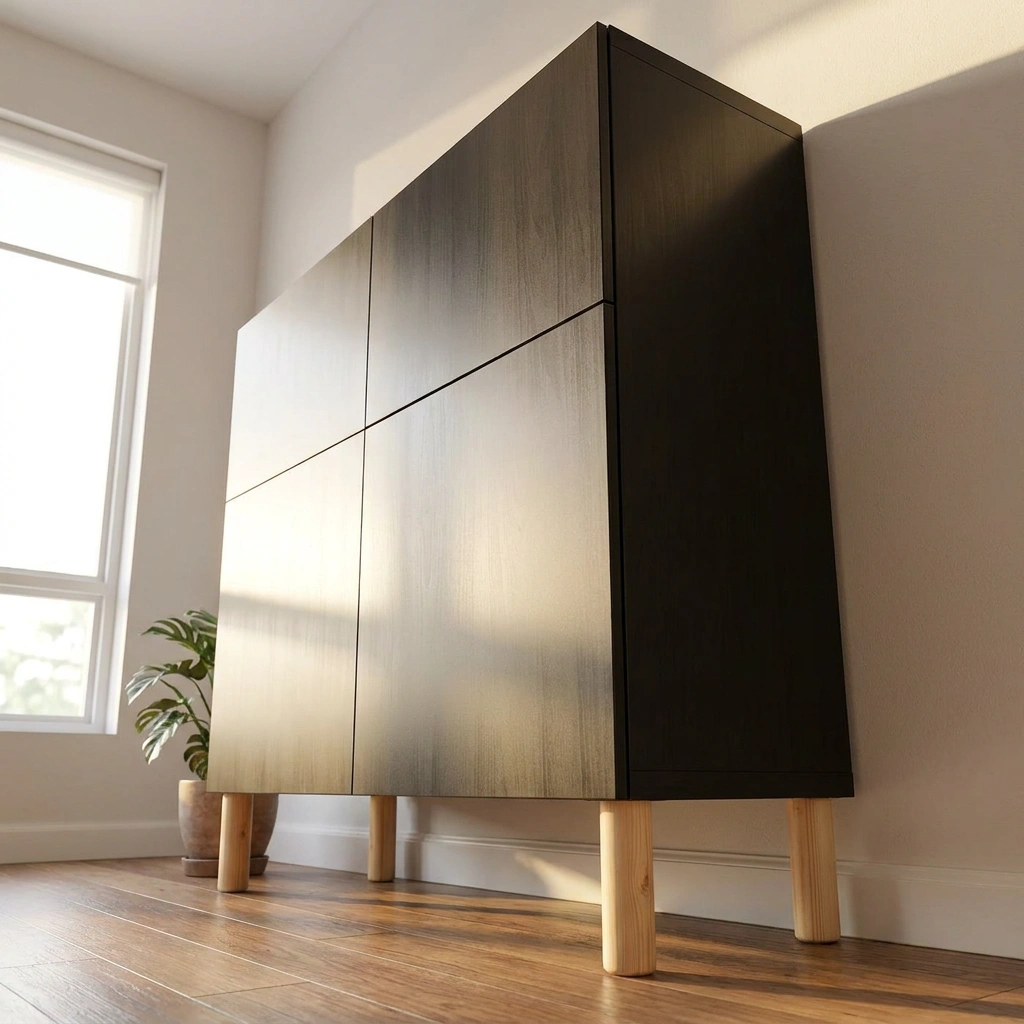
⦁ Tall sideboard / bar-height unit: 40–70 cm legs transform a Bestå into a tall sideboard or console table — popular in dining rooms and kitchens.
⦁ Children’s room: Keep legs short — 5–10 cm — for stability and so children can reach the contents easily.
Choosing the right wooden legs — style and material
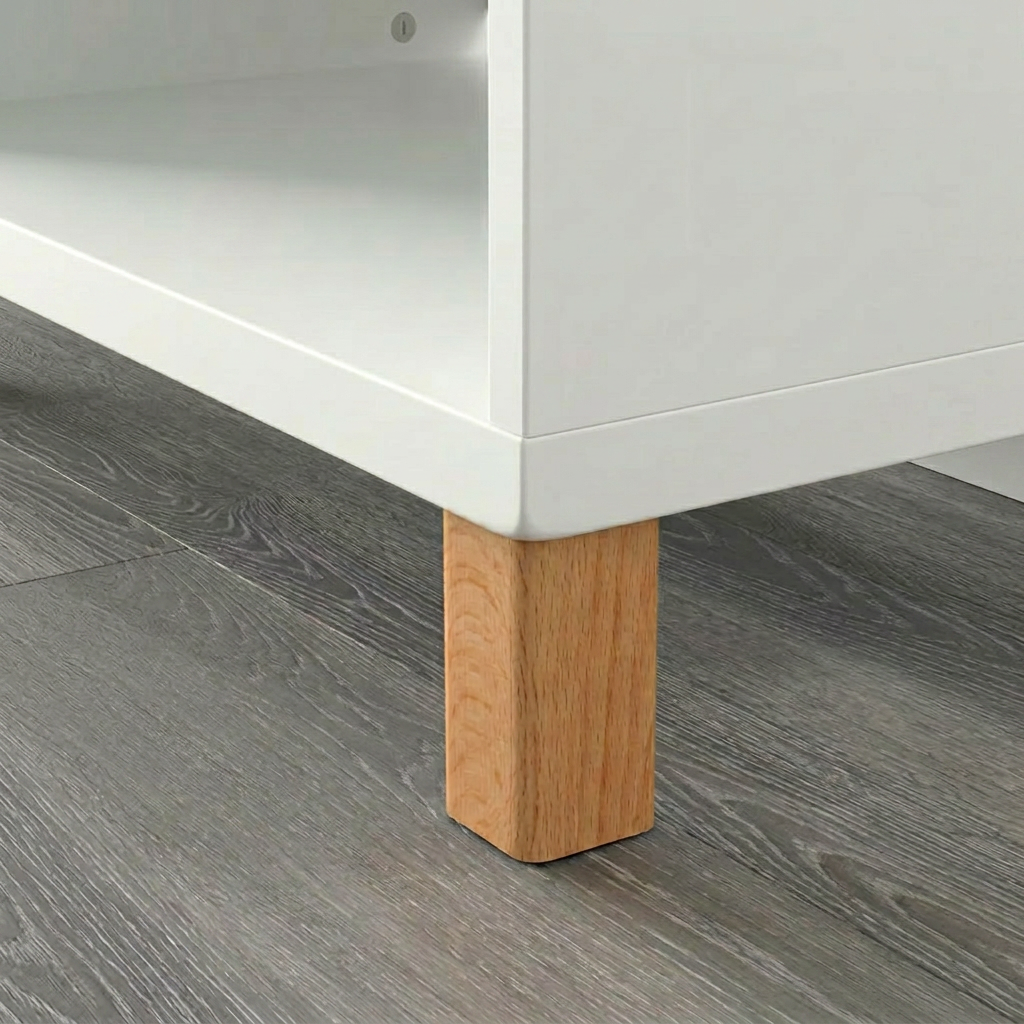
Solid wood legs in oak, beech, or birch give a Bestå a completely different and more premium look compared to IKEA’s original plastic and metal feet. Keep the following in mind when choosing:
⦁ Tapered legs: The most popular choice for Bestå. Creates a Scandinavian, lightweight feel. Perfect for TV benches and sideboards.
⦁ Cylindrical legs: Straighter, more industrial look. Works well if you want a heavier, more robust feel.
⦁ Oak: Warm and timeless with visible grain. Suits most interior styles and ages beautifully.
⦁ Birch: Lighter and more neutral. A good choice if you want a discreet leg that doesn’t draw too much attention.
⦁ Beech: Tighter grain and slightly darker than birch. Durable and great-looking alongside darker Bestå finishes such as black-brown and dark grey.
Step by step — how to install new legs on a Bestå
You’ll need: new furniture legs with M8 thread and an adjustable spanner or hex key. No drill, no brackets — Bestå comes fully prepared from the factory.
Step 1 — Empty and flip the unit: Remove all contents from the Bestå frame. Place a soft surface (blanket or rug) on the floor and turn the frame upside down so the underside faces up.
Step 2 — Remove the original feet: Bestå comes with adjustable plastic feet. Unscrew them anti-clockwise from the M8 threaded inserts on the underside. Keep them if you want the option to go back to the original.
Step 3 — Check the M8 inserts: Look at the threaded holes — they should be clean and intact. If there are any wood shavings or debris in the holes, clear them with a small brush or a puff of compressed air.
Step 4 — Screw in the new legs: Screw the wooden legs clockwise into the M8 inserts by hand until they sit snug. Then tighten a quarter turn with a spanner. Don’t over-tighten — the insert sits in chipboard and won’t handle excessive force.
Step 5 — Check that all legs are straight: Before flipping the unit over, make sure all legs are pointing straight down at the same angle. A crooked leg will cause the unit to wobble.
Step 6 — Turn upright and adjust: Flip the unit back and place it in position. Check that it stands stable. If it wobbles, tighten the shortest leg a little further until all four make even contact with the floor.
Combining multiple Bestå units with legs
Many people combine two or three Bestå units side by side into a longer TV bench or sideboard. Here’s a useful trick: you don’t need a leg at every corner of every unit. Where two units meet, one leg in the middle is enough — which is exactly how IKEA’s own STUBBARP legs are designed to work. This gives a cleaner, more unified look.
Number of legs for common combinations: one 60 cm unit needs 4 legs; two 60 cm units side by side need 6 legs (not 8); three 60 cm units side by side need 8 legs.
Yes! The Bestå frame already has pre-installed M8 threaded inserts on the underside from the factory. You simply screw the leg straight in — no drilling or extra fittings needed. It’s honestly the easiest furniture leg swap of any IKEA piece.
IKEA’s own specifications state that a floor-standing Bestå frame can hold 20 kg on top. With new legs and proper installation into the chipboard inserts, the structure holds the same load — just avoid overloading, as chipboard is more sensitive than solid wood.
No — a wall-mounted Bestå should not have floor legs. Legs are for floor-standing frames only. Combining wall mounting with floor legs creates stress in the structure that can damage both the frame and the wall.
The Bestå frame base is approximately 16–18 mm thick chipboard. Use screws of 12–14 mm — long enough to hold firmly, but not so long that they pass through the frame and become visible inside.
Yes — the M8 inserts are always located on the underside of the frame regardless of whether it’s a 38 cm or 64 cm tall unit, or 60 cm or 120 cm wide. The system is consistent across the entire Bestå range.